Introduction
Upon setting up a Zoolz account and selecting a plan for it, administrators gain the ability to incorporate additional users into their accounts, enabling all users to back up their data to a single account. Rest assured, standard users are unable to access each other’s backed-up data, whereas administrative users hold the authority to access data backed up by others, subject to their permissions. (Learn more)
Primarily, administrators can employ three methods to add users to the main Zoolz account;
Method 1. Manual Addition of Users
- Sign in to your Zoolz web console as an admin user.
- Refer to the Users / Servers page.
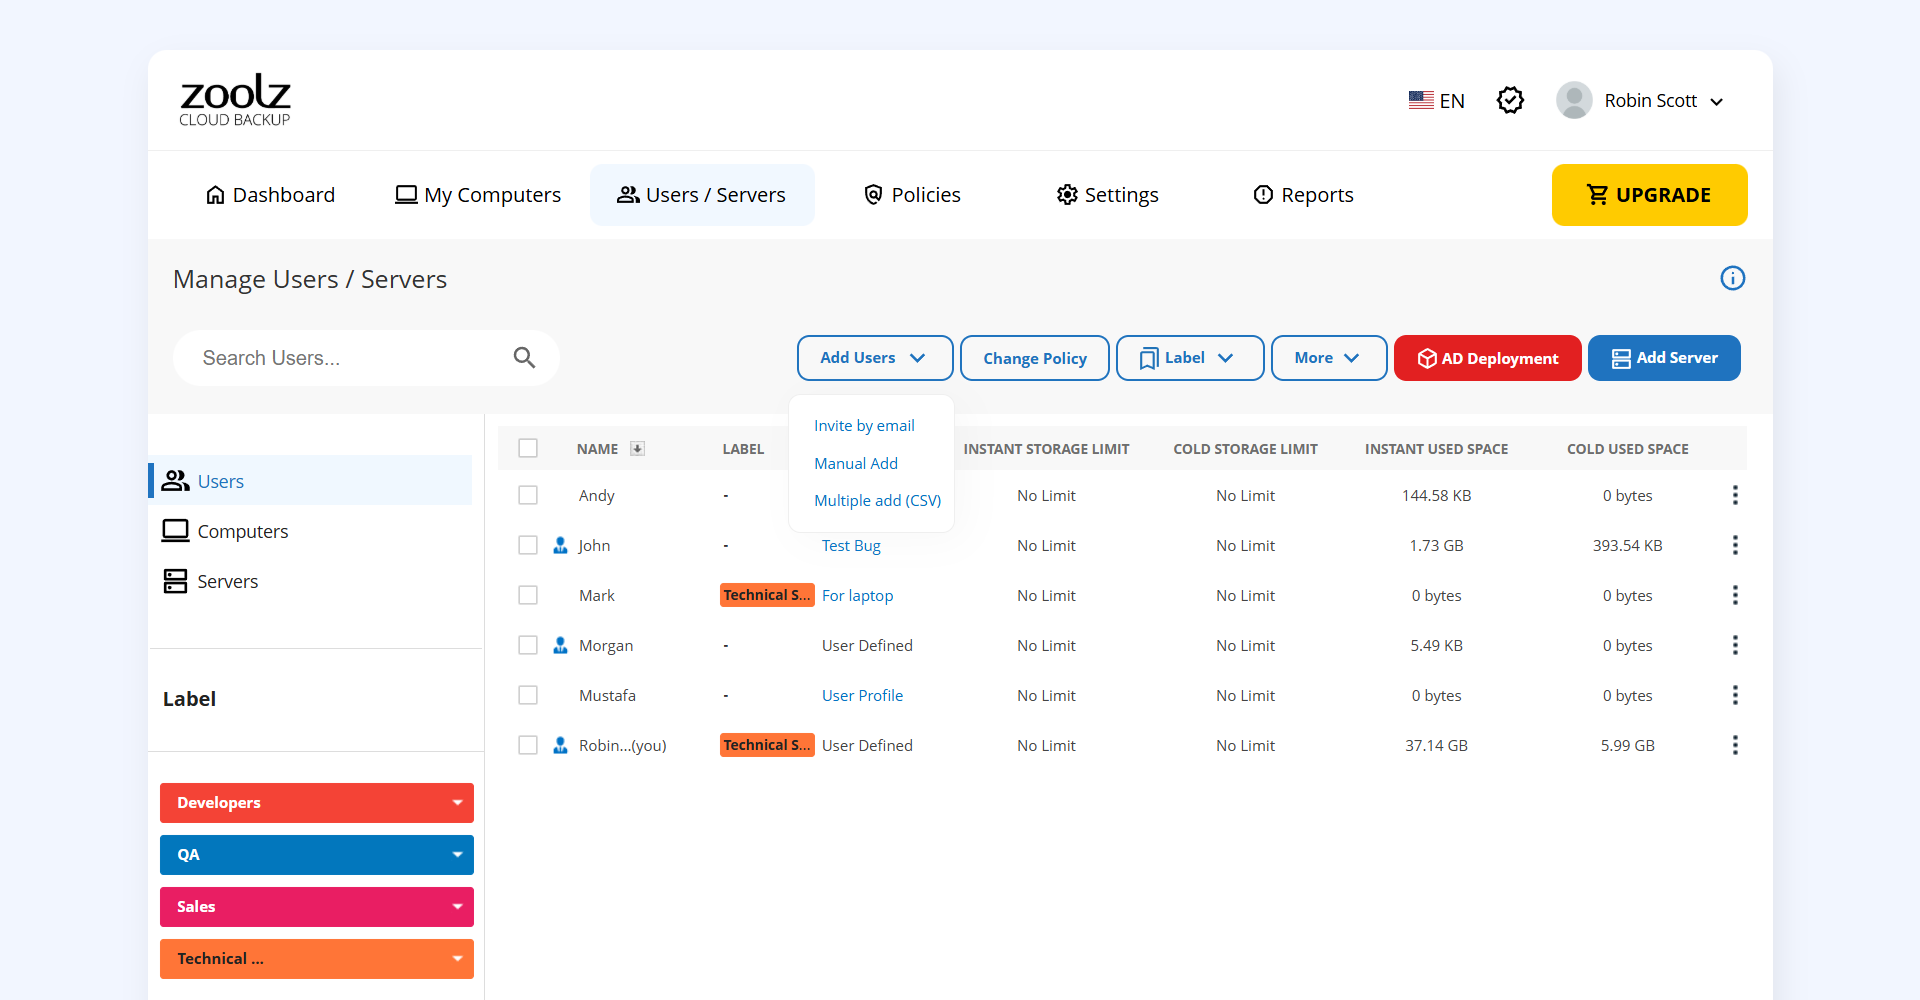
- From the opened Manage Users / Servers page, click on the Add Users button, and select the Manual Add option. The Manual Add page will open.
- Fill in the information for the new user and click the Add User button.
- Refer to the Dashboard page, click the Download Zoolz button, move the downloaded setup file to the machine of the added user, run it there, and sign in with the email and the password you have assigned for them.
Method 2. Invitation of Users via Email
- Sign in to your Zoolz web console as an admin user.
- Refer to the Users / Servers page.
- From the opened Manage Users / Servers page, click on the Add Users button, and select the Invite by email option. The Invite by email page will open.
- In the To field, type the email(s) of the user(s) you want to add, separated by an Enter press. The provided email address(s) will be used as Zoolz login email(s) for the added user(s).
- In the Subject field, type a proper subject for the invitation email.
- In the Message (Optional) field, you can type a short message to be included in the invitation email.
- Once complete, click the Add Users button. The Account Options pop-up window will open.
- From the Account Options window, you can assign policies for the added users and limit their cloud resource usage if needed. Once done, click OK.
Upon completion, an email will be dispatched from no-reply@zoolz.com to the specified email addresses. This email will contain a link leading to the sign-up page, where recipients can establish their Zoolz profiles by setting a name and login password.
Once the sign-up process is finalized, users can access their Zoolz profiles. They will have the option to download the Zoolz setup on their devices and commence utilizing the service.
Method 3. Bulk Addition of Users via a CSV File
If you are looking to efficiently add multiple users and configure their backup settings in one go, Zoolz offers a convenient method to streamline the process. Here is what to do:
- Sign in to your Zoolz web console as an admin user.
- Refer to the Users / Servers page.
- From the opened Manage Users / Servers page, click on the Add Users button, and select the Multiple add (CSV) option. The Multiple add (CSV) page will open.
- On your computer, create a CSV (Comma-Separated Values) file following the provided sample format on the page. Ensure that the information for each user, including backup settings, is accurately represented in the CSV file.
- Once the CSV file is prepared, you have two options for uploading. Either click on the designated upload area and select the CSV file from your computer, or simply drag and drop the CSV file directly into the upload area.
- After uploading the CSV file, review the entries to ensure accuracy. If everything appears correct, proceed by clicking on the Confirm and Add Users button. In case of any discrepancies, you have the option to upload a different file by clicking on Upload a different file.
Upon completion, you can proceed with installing the Zoolz application on the devices of the added users, activate each application with the corresponding Zoolz login credentials, and commence utilizing the service.

