Branding allows you to add your own logo and product name to your cloud solution.
To re-brand Zoolz Archive
- Sign in to the reseller system.
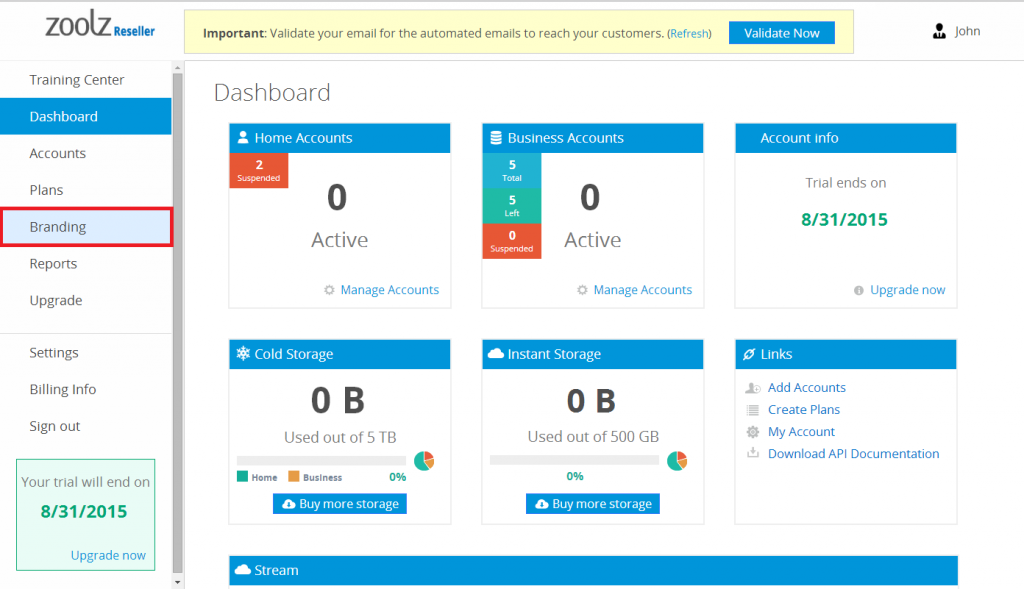
- On the left-hand pane, click on Branding.
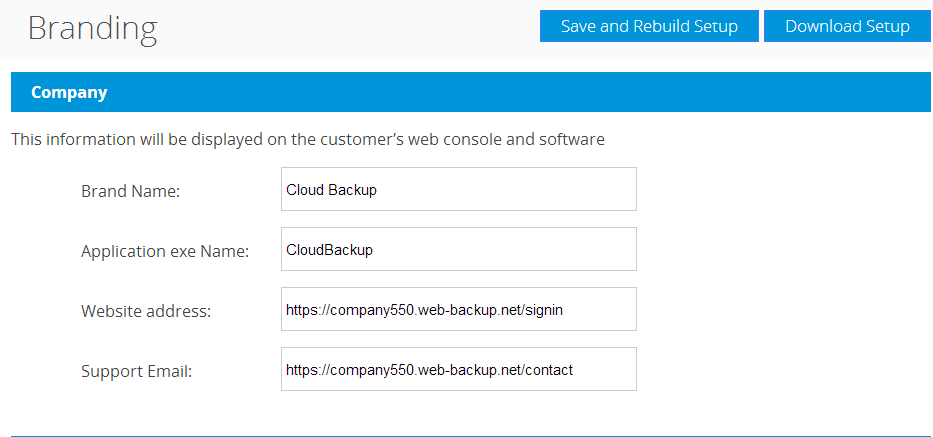
- Under Company, fill in the following information:
- Under Subdomain, specify where your users will be redirected to access the online console. By default the subdomain will be your company name.

- Under Email, specify the Sender Name and Email that will be displayed when sending automated emails from the system such as the register confirmation or forget password.

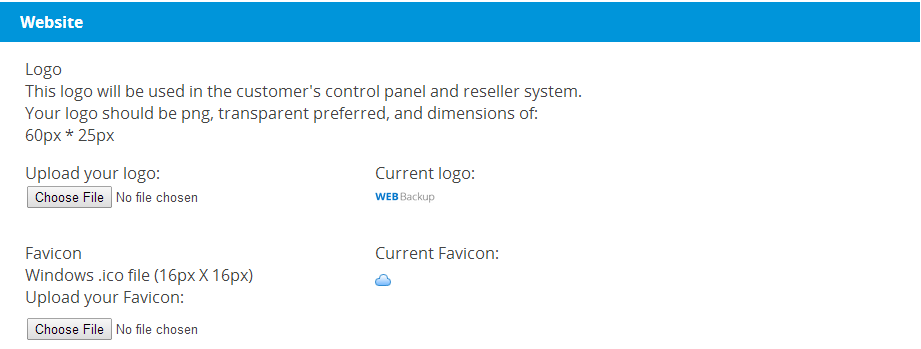
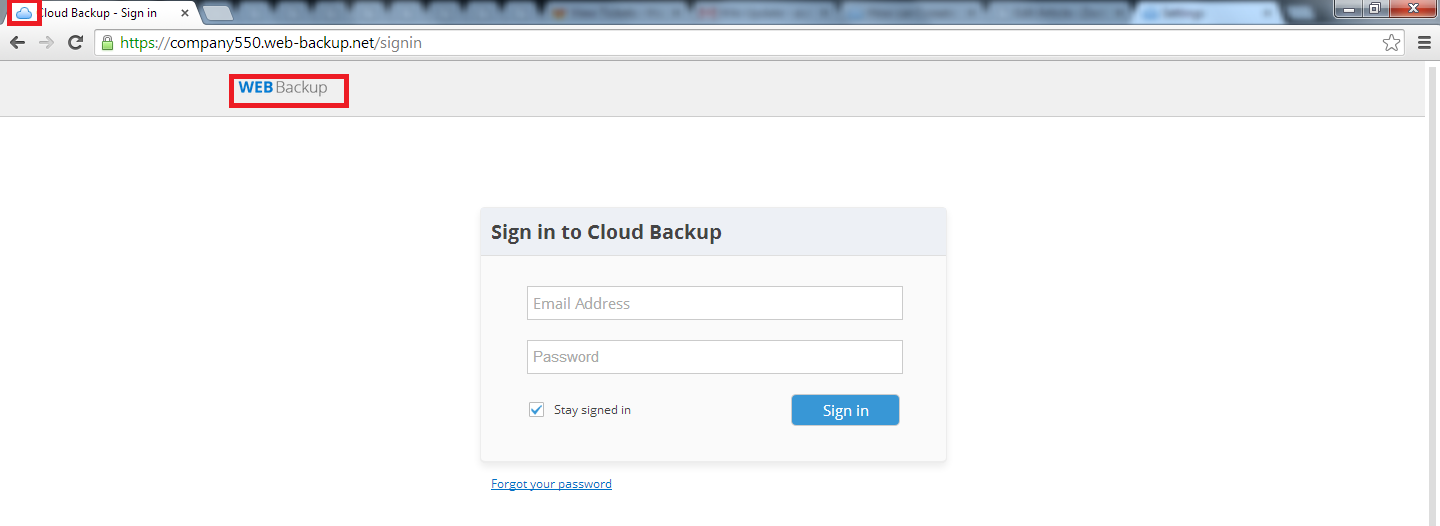
- Under Website, upload the following artwork
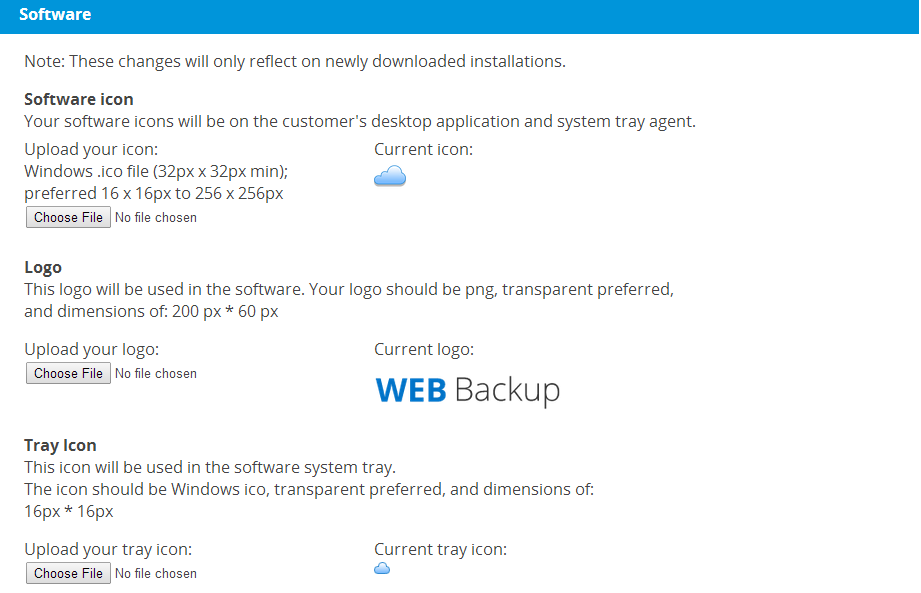
- Under Software upload the following artwork
- Logo: A transparent PNG logo that will display in the software, it should be consistent to the website logo.
- Software Icon: Your software icon provided in .ico format.
- Tray icon: The icon shown in the system tray of Windows. Preferred to be consistent with your software icon.
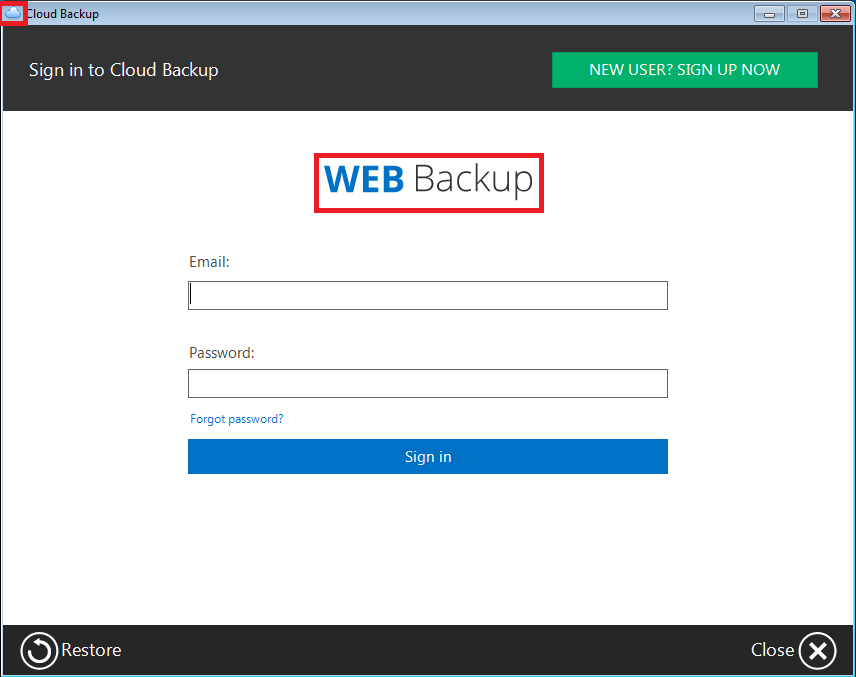
 According to these settings, here is how the software client will look like:
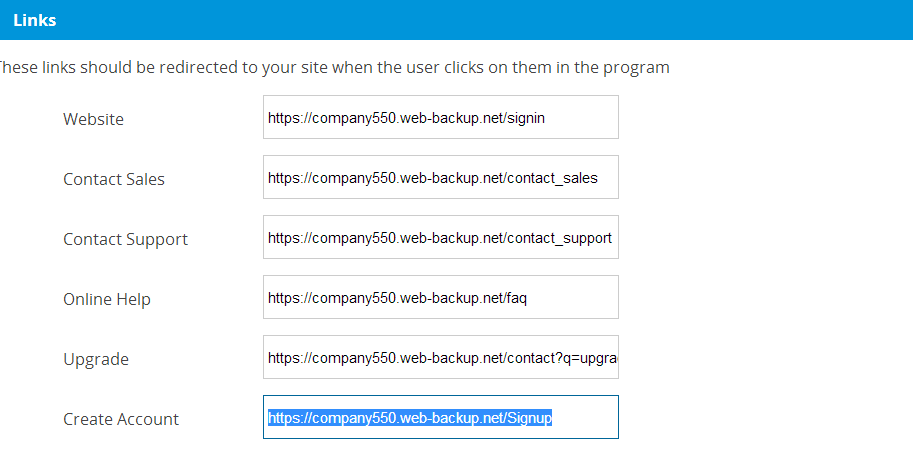
- In the Links section, you can redirect the following links to your customized webpages or keep the default webpages:
- Website: Your product homepage.
- Contact Sales: Contact Sales contact form.
- Contact Support: Contact Sales contact form.
- Online Help: Help documentation for the product.
- Upgrade: Buy now page for your product.
- Create account: By default, it will be your contact us page, unless you create your own account in which you can take advantage of the create account API.
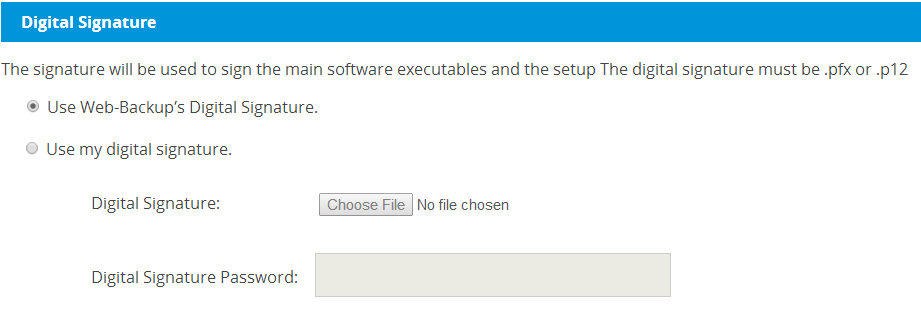
- Digital Signature section enables you to upload your own digital signature to sign the software setup with or keep the default Web-Backup digital signature.
- To save changes, click on Save and Rebuild Setup
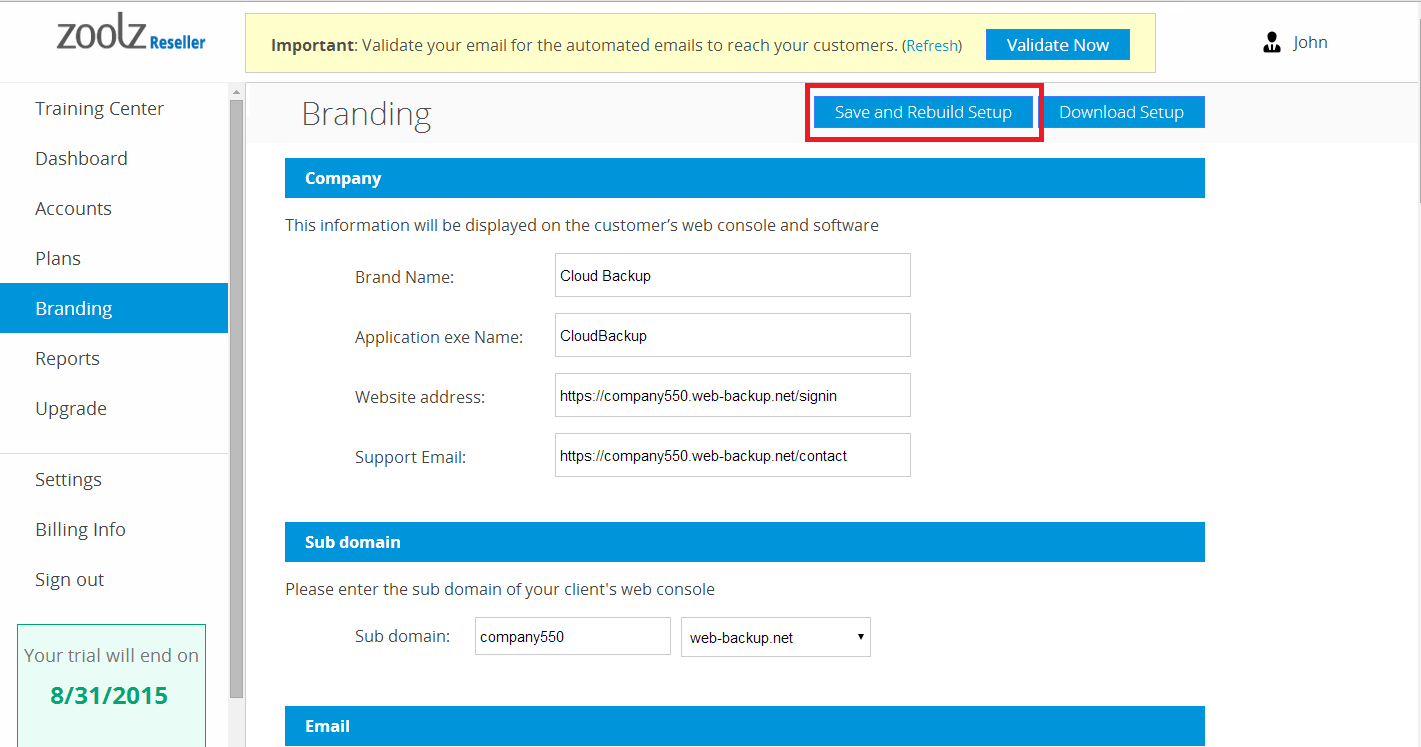
- To download the branded software, click on Download Setup
These features are all available for the full-branded reseller plan. To learn more about the differences between branding options, click here

